basic/자바스크립트
day 23 실습 - JavaScript
못지(Motji)
2021. 5. 26. 22:56
변수 선언과 값 대입하기
<script>
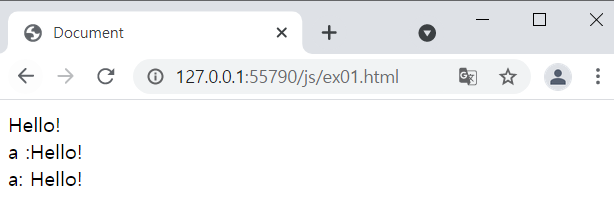
var a ="Hello!";
console.log(a); // 관리자모드 console창에 출력
document.write(a +"<br/>"); // 문서 화면에 출력
document.write("a :" + a +"<br/>"); // 이어서 출력하고 싶으면 + 또는 ,
document.write("a: ", a, "<br/>"); // 쉼표는 자동으로 한칸 띄어서 출력
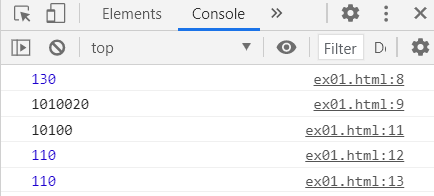
var x = 10, y ="10";
console.log(x==y); // 값만 비교
console.log(x===y); // 타입까지 비교
</script>🔎 미리보기

💬 cosole창 보는법 : chrome에서 F12 누르면 관리자모드가 뜸 거기서 맨위줄에 Console click!
변수 타입 변환하기
<script>
    var num = 100;
    console.log(10 + num + 20);
    console.log(10 + String(num) + 20);
    var num2 = "100";
    console.log(10 + num2);
    console.log(10 + Number(num2));
    console.log(10 + parseInt(num2));
</script>
🔎 미리보기
💬
숫자는 Number() parseInt() 문자는 String() 또는 ""으로 타입변경이 가능하다.
그리고 출력창에 숫자는 파란색으로 문자는 검정색으로 글자색이 구별된다.
배열 만들고 메소드 사용해보기
<script>
var arr = new Array(); // 배열생성 객체 생성, 값 x
arr[0] = "내일";
arr[1] = 585;
arr[2] = true;
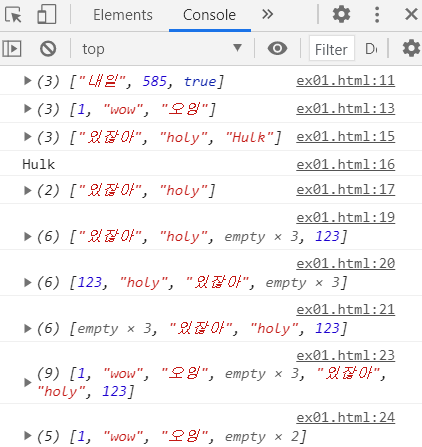
console.log(arr);
var arr2 = new Array(1,"wow","오잉"); // 배열 객체 생성+값 초기화
console.log(arr2);
var arr3 = ["있잖아", "holy", "Hulk"]; // 초기화
console.log(arr3);
console.log(arr3.pop()); // 마지막 값 리턴후 삭제
console.log(arr3);
arr3[5] = 123; // 인덱스번호 중간에 띄고 값넣기도 가능
console.log(arr3); // 대신 값이 안들어간건 empty로 표기 > 값은 없는 상태
console.log(arr3.sort()); // 오름차순 정렬 : 숫자-영어(대-소)-한글
console.log(arr3.reverse()); // 정렬 거꾸로
var arrPlus = arr2.concat(arr3) // 배열 연결
console.log(arrPlus);
console.log(arrPlus.slice(0,5)); // 인덱스번호 0부터 5전까지 자르기
</script>🔎 미리보기
💬

맨앞 화살표 내리면 배열정보를 볼 수 있다. 인덱스번호별 가지고 있는 값과 길이
함수 만들고 사용해보기
 <script>
        function plus(n1, n2){ // function으로 함수를 만들면 된다.
            console.log(n1+n2);	// 함수 만드는 방법1
        }
        plus(10,50); // 매개변수&인자로 숫자, 문자, boolean 타입 모두 가능
        plus("I'M"," 천재")

        function today(str){
            return (str+"좋아");	// 리턴으로 값돌려주기도 가능하다.
        }
        console.log(today()); // 인자를 던져주지 않아서 str값이 정의되지않는다.
        console.log(today("금요일"));

        var hello = function(name){ // 리터럴함수 > 함수 만드는 방법2
            console.log(name);	// 함수이름 주지않고 바로 변수에 넣어주기
        }
        hello("홍길동");

        var hello = new Function("name","console.log(name);"); // 함수 만드는 방법3
        hello("피카");	// 객체 생성하여 변수에 넣어주기

    </script>
🔎 미리보기
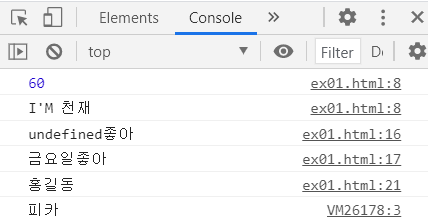
💬 함수 이름을 주지 않고 만들어 변수에 넣어주는게 리터럴함수!!
Date 객체 생성하여 사용해보기
<script>
    var day = new Date(); // Date객체 생성하여 day참조변수에 넣어주기
    console.log(day);	// 오늘날짜 시간이 나옴
    var specialDay = new Date("1945/5/7") // 객체 생성할때 날짜 던져주어 만들기
    console.log(specialDay);
    console.log(specialDay.getFullYear()+ "년" + (specialDay.getMonth()+1)+"월" + specialDay.getDay()+"일")
	// Date객체가 가지고 있는 메소드 사용, month는 0~11라서 꺼낼때 +1 해줘야 정확한 달이 나옴
</script>
🔎 미리보기
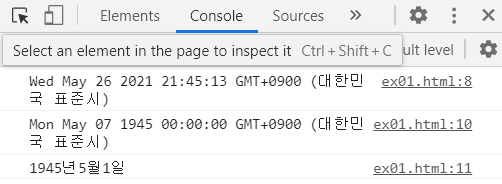
💬 더 다양한 메소드가 있지만 필요할때 찾아서 만들어 보자 ~
wondow 객체 사용하기 - 브라우저 객체 모델의 최상위
<head>
<meta charset="UTF-8">
<title>Document</title>
<script>
window.open("http://www.naver.com","네이버",
"width=350, heigth=400, left=50, top=50 locaion=no, status=no, scrollvar=no");
// 새창 띄우기, window생략 가능, 띄울 url,이름,새창옵션들...
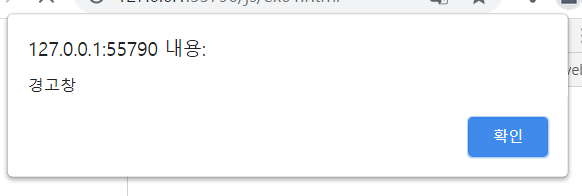
alert("경고창");
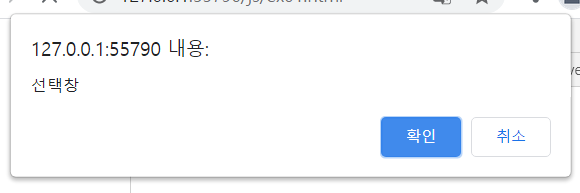
confirm("선택창");
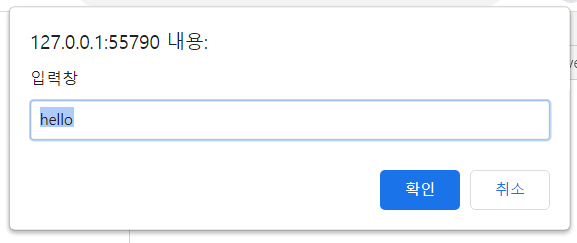
prompt("입력창","hello"); // 기본답변을 넣어 놓을 수 있다.
var i = 0;
var auto = setInterval(function(){ // 넣은 시간가격마다 반복해서 실행
console.log(i);
i++;
},1000); // 시간 단위는 millisecond
</script>
</head>
<body>
<button onclick="clearInterval(auto)">stop</button>
// 버튼 누르면 setInterval 정지할 수 있도록 버튼에 속성값으로 줌
</body>🔎 미리보기
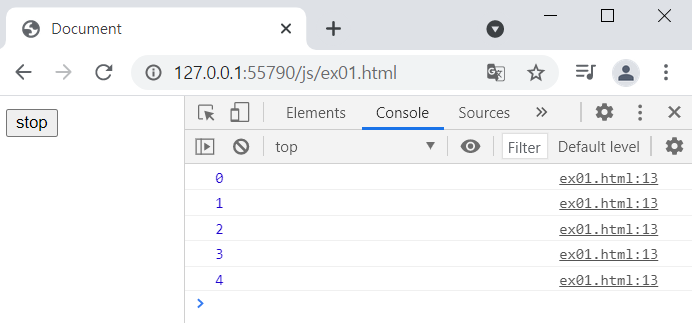
💬 setInterval 만들어 변수에 넣어준이유는 멈추는 속성값줄때 그 변수명을 던져줘야 하기 때문이다.
location 객체 사용하기 - 브라우저와 관련된 속성 (주소,host...)
<head>
    <meta charset="UTF-8">
    <title>Document</title>
    <script>
        //location.href="http://www.naver.com"; // 주소영역의 주소 변경 // 바로 네이버가 뜨게됨!
    </script>
</head>
<body>
    <button onclick="location.href='http://www.daum.net'">다음으로 이동</button>
    // 속성값으로 줄때에는 주소는' 감싸줘야함, 속성전체감싸는 "와 맞물려 인식이 안됨
</body>
🔎 미리보기
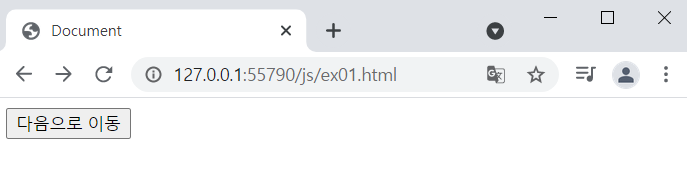
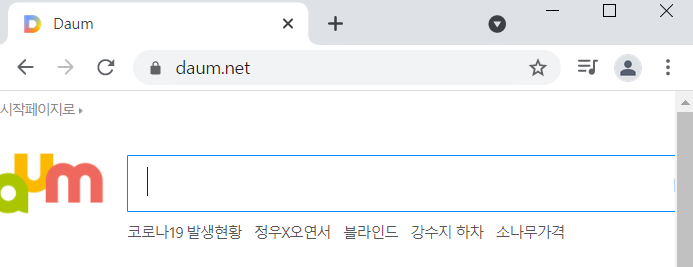
💬 button 클릭시 실행되는 속성값에 넣어주어서 클릭하면 이렇게 다음 사이트로 이동된다.
history 객체 사용하기 - 브라우저의 앞으로,뒤로가기 기능의 메소드 제공
<body>
   <h1>page2</h1>
   <button onclick="history.go(-2)">뒤로가기</button> // 두단계 이전에 방문했던 곳으로 이동
   <button onclick="history.go(2)">앞으로가기</button>  // 두단계 앞에 방문했던 곳으로 이동
   // history.back() // 뒤로가기
   // history.forword() // 앞으로가기
</body>
🔎 미리보기

💬 클릭하면 history.go(n) 메소드 안에 쓴 숫자만큼 뒤로가거나 앞으로갈 수 있다.
노드 객체 가져오는 메소드 실행해보기
<body>
   <div class="first"> div1
       <div></div>
       <div></div>
       <div></div>
       <div class="test">test div</div>
   </div>
   <div id="second">div2</div>
   <div id="third">div3</div>
   <script>
        var elem = document.getElementsByClassName("test"); //클래스 test의 객체 가져오기
        console.log(elem);
        elem = document.querySelector("div.first>div.test"); // CSS선택자로 객체 가져오기
        console.log(elem);
        console.log(elem.textContent); // 가져온 elem의 텍스트콘텐츠 출력
    </script>
</body>
🔎 미리보기
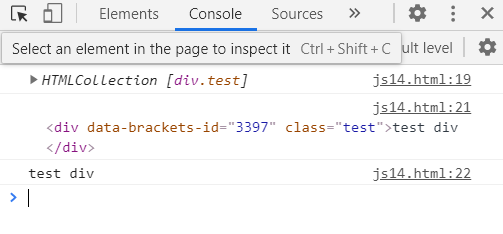
💬 이건 좀 헷갈려서 사용하면서 익혀야 겠다.
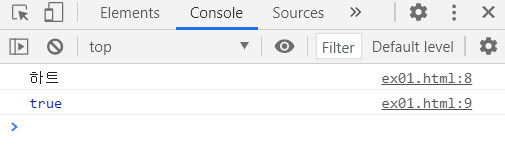
객체 리터럴
<script>
    var card = {shape:"하트", number:"A"};
    // 객체 구별 표식 > {}
    // 이름:값 쉼표로 구분해줌
    console.log(card.shape);
    // 객체 값에 접근할때는 참조변수명.이름
    console.log("shape" in card);
    // 프로퍼티가 있으면 true 리턴
</script>
🔎 미리보기
💬 개발자가 새로운 객체 만들때 객체 리터럴
{}이걸로 구분하고 이름:값 이게 하나의 프로퍼티 이다.
,로 구분하여 여러개의 프로퍼티 넣을 수 있다.